")
")
")
")
")
")
")
")
")
")
")

")
")
")
")
")
")
")
")
")
")
")
")
")
")
")
")
")
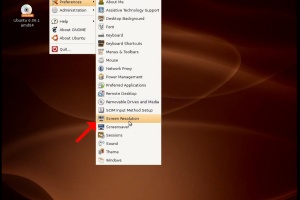

1. Look for the On/Off icon on the top right corner of the screen. Click it and wait for a small side menu to appear.
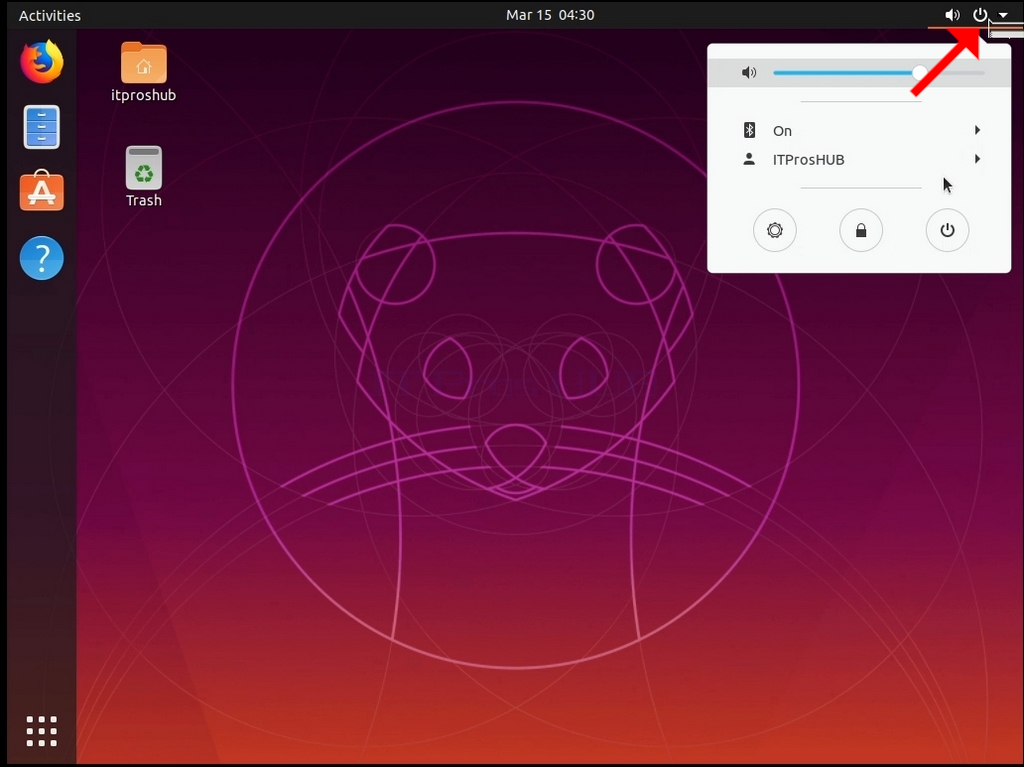
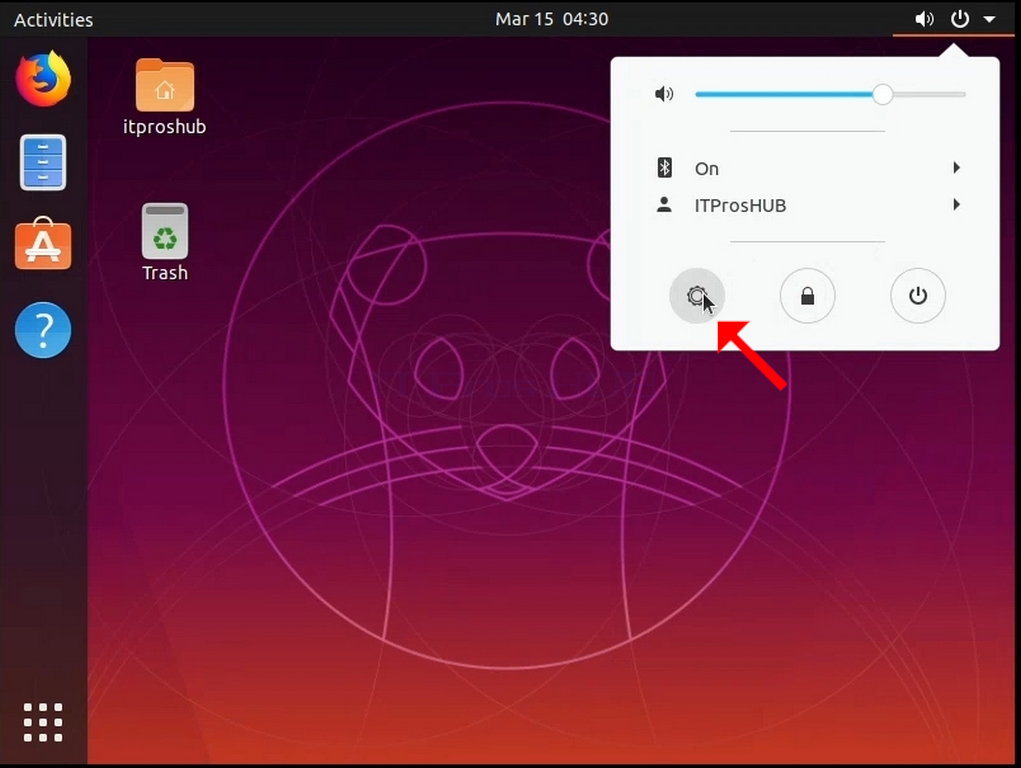
2. In the small side menu, look for a gear wheel icon click on Settings.
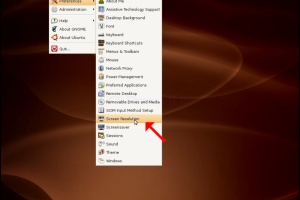
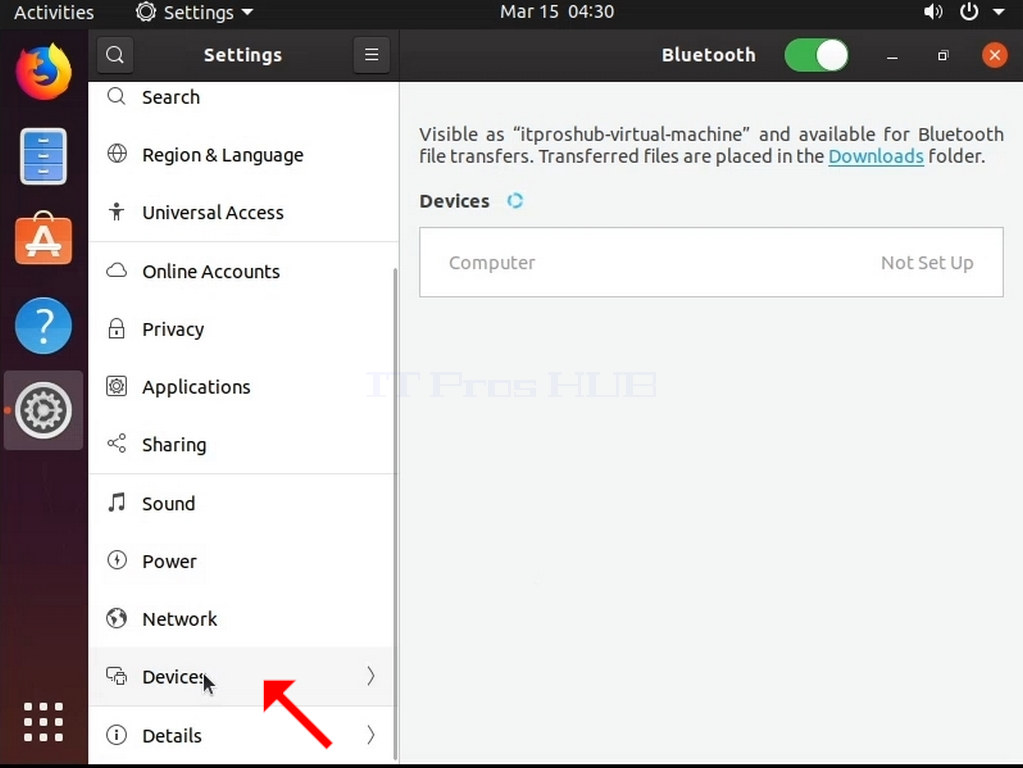
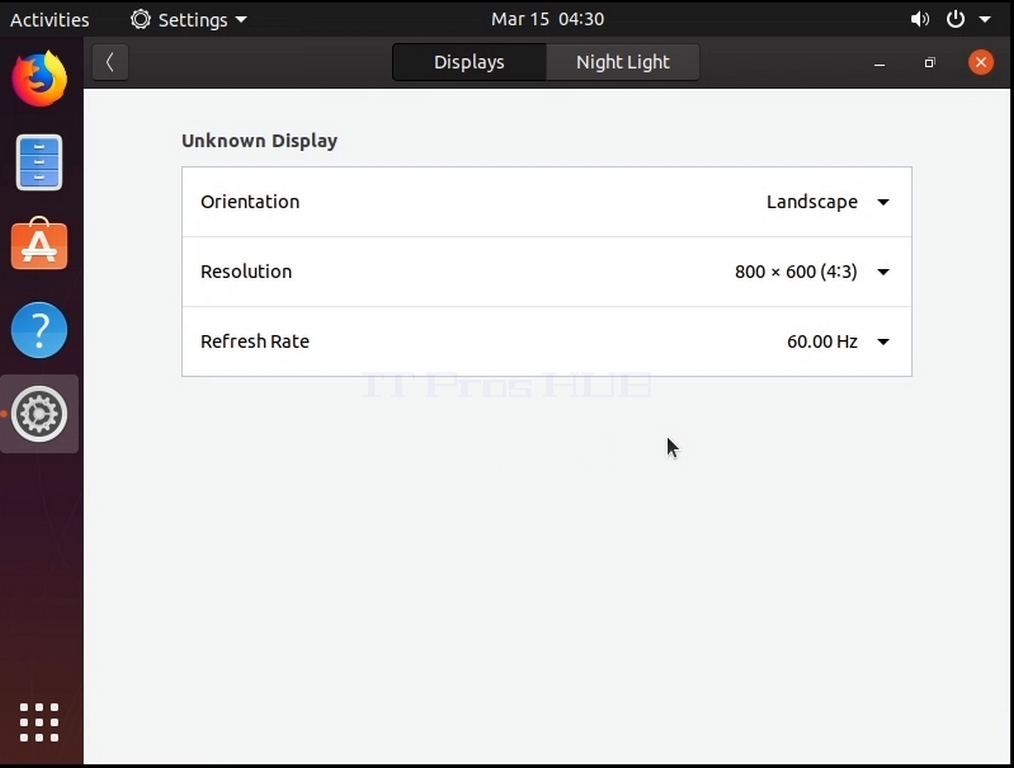
3. In the newly opened Settings window, look for Devices and click it, then Click Displays
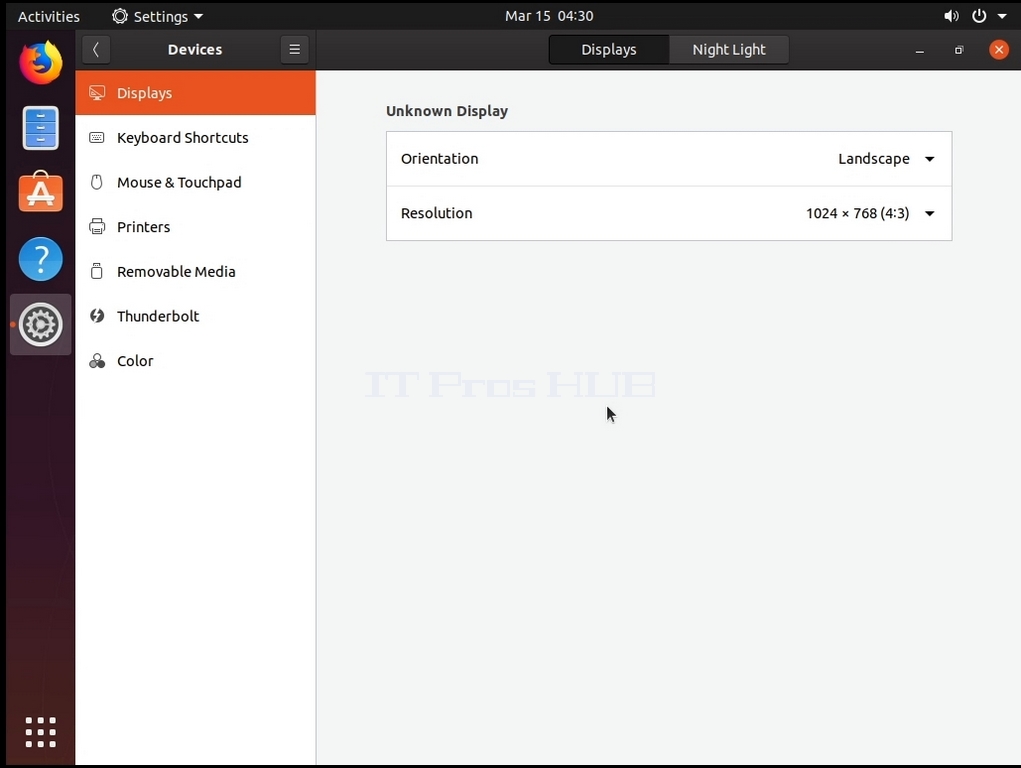
4. Under Displays, on the right part of the window, look for Resolution
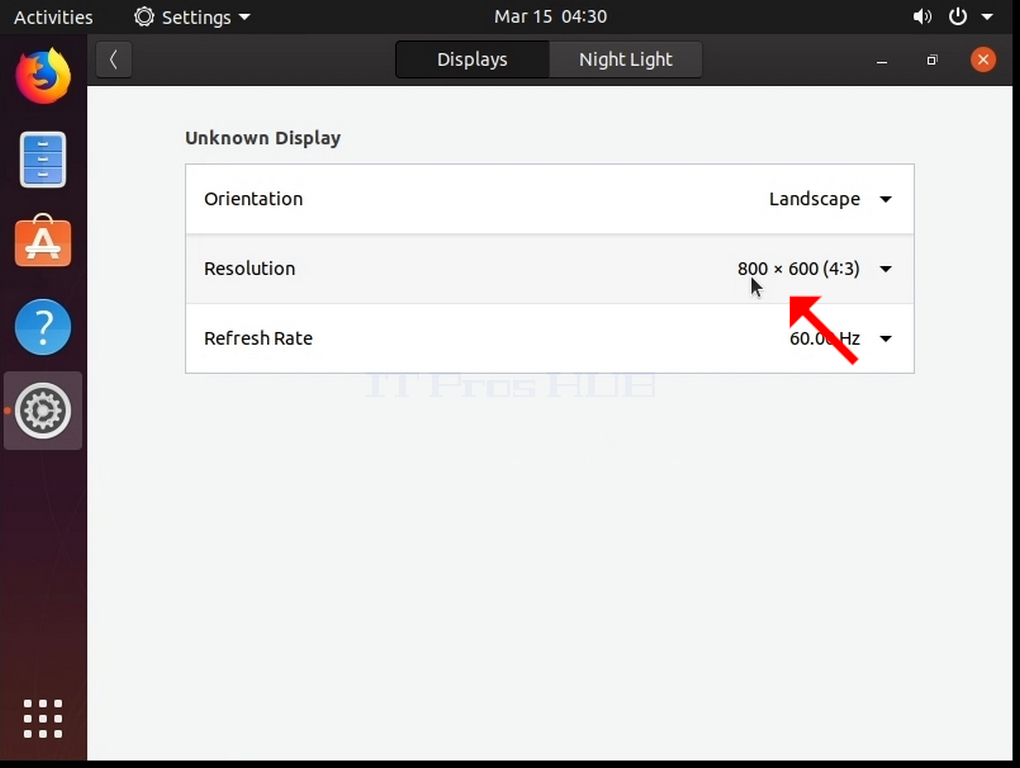
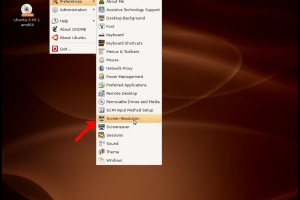
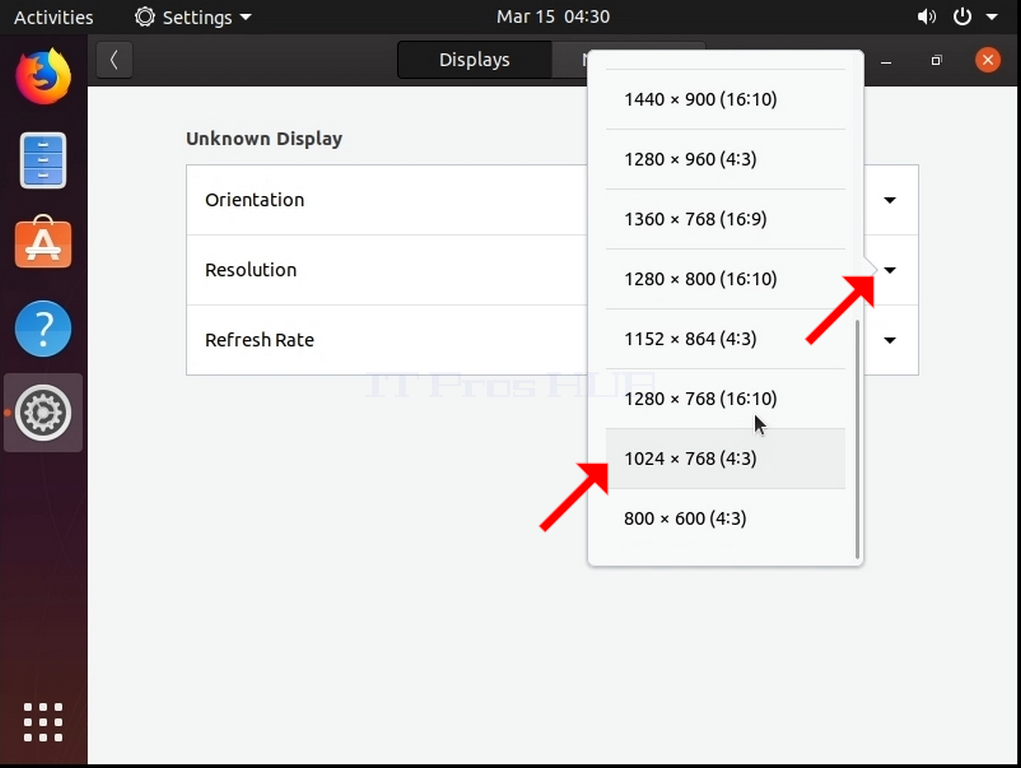
5. Click the current resolution setting to expand the drop-down menu and see the available resolutions to pick from.
6. From the various resolution options, choose the one best suits your needs by left clicking on it (In this example the chosen one is 1024x768)
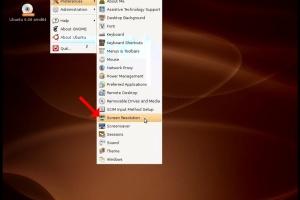
7. Click Apply
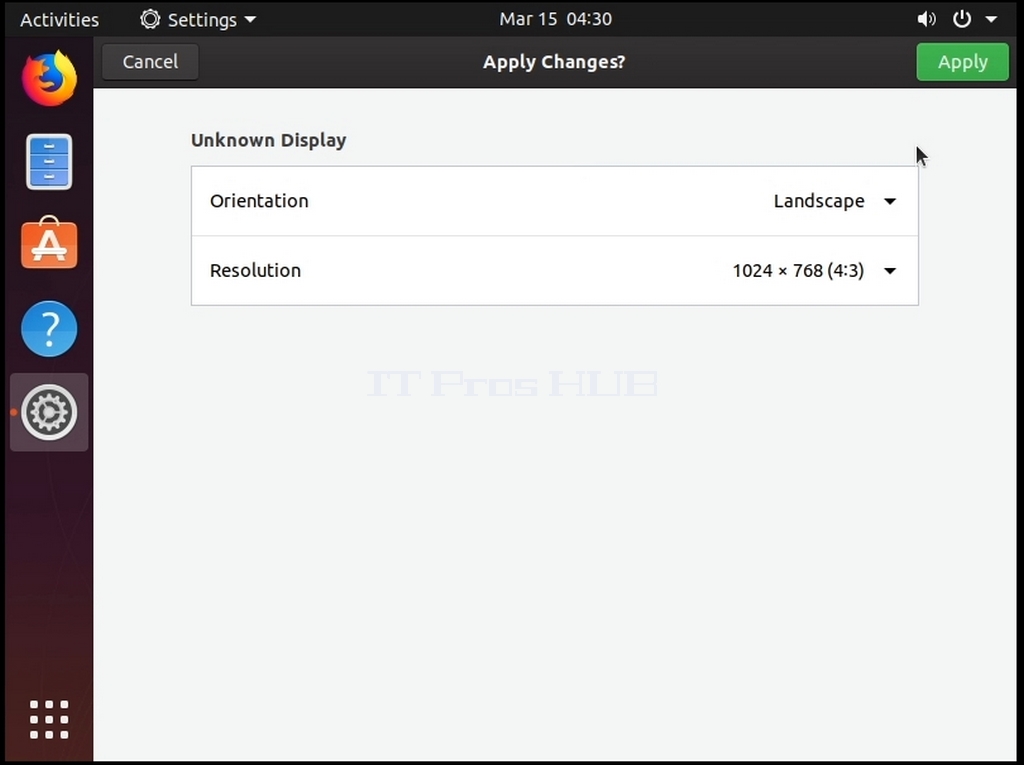
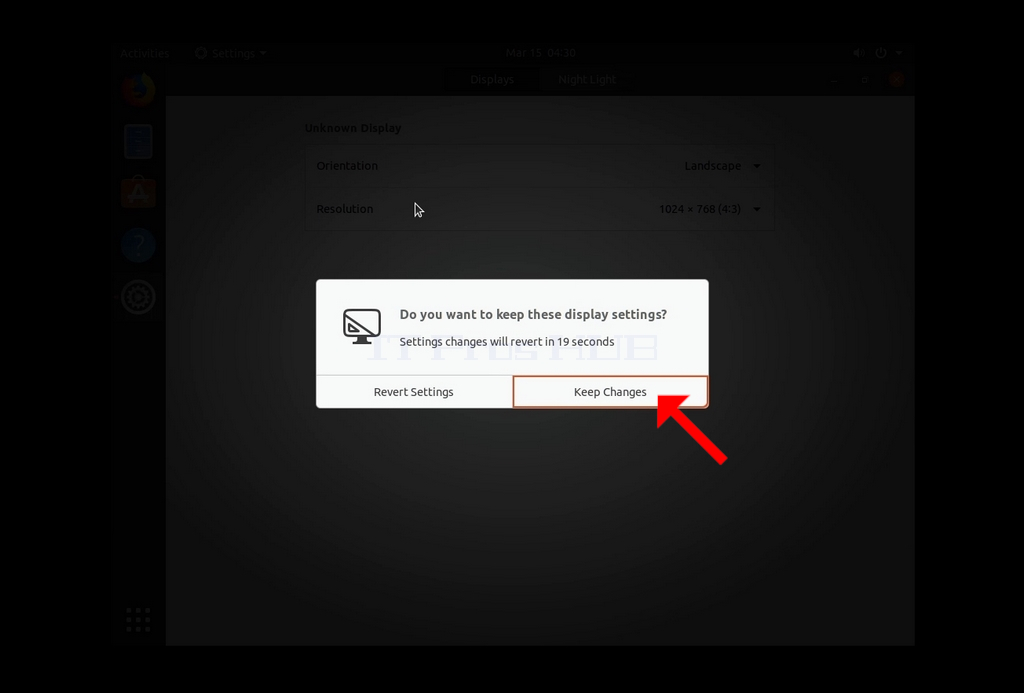
8. After choosing the new resolution setting, Ubuntu will ask you whether you would like to Keep Changes or to Revert them. If an option is not chosen within an allocated number of seconds, Ubuntu will revert back to the previously configured resolution. This is done in case the monitor doesn't support the selected resolution, and the user is unable to either see or see the current video output to manually revert the newly selected resolution.
If the newly chosen resolution is compatible with the monitor, choose Keep Changes, and click it.